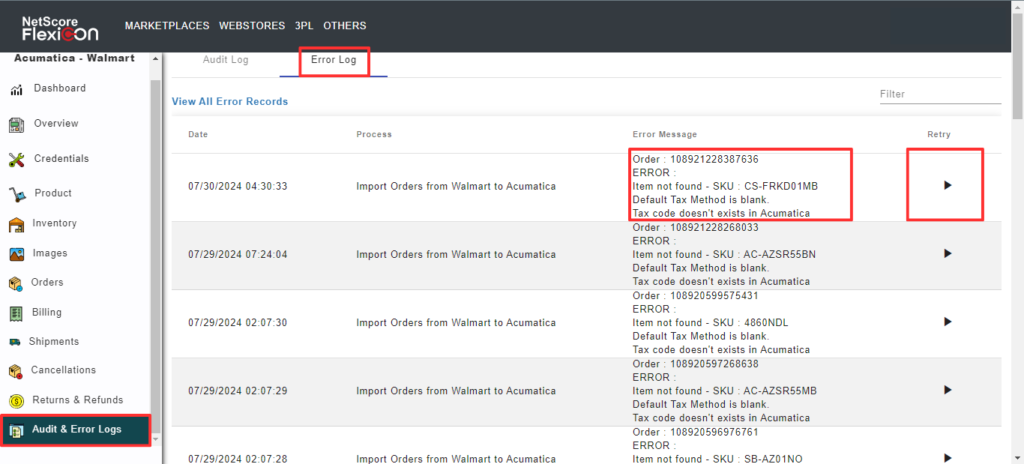
When an order fails to sync to Acumatica, the FlexiCon connector logs the error at the connector’s Audit and Error Logs window.
To resync an order that has failed to sync to Acumatica, do these:
- From the navigation panel, select the Audit & Error Logs.
Select t the Error Log tab, to access the error information. - Go through the error message and provide the necessary inputs to the system.
- Resync the error record by selecting the Resync button.
Before trying to import orders from Wayfair to Acumatica, do the following configurations in the FlexiCon configuration module.
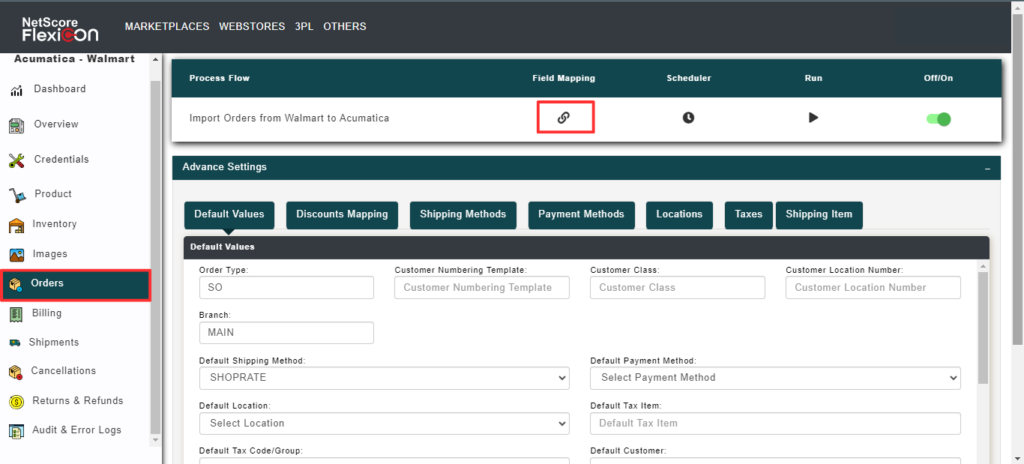
- Select Orders from the navigation panel in the FlexiCon Configuration module.

- To map the fields across Acumatica and Wayfair, select the Field Mapping
A pop-up window called Orders Import is displayed.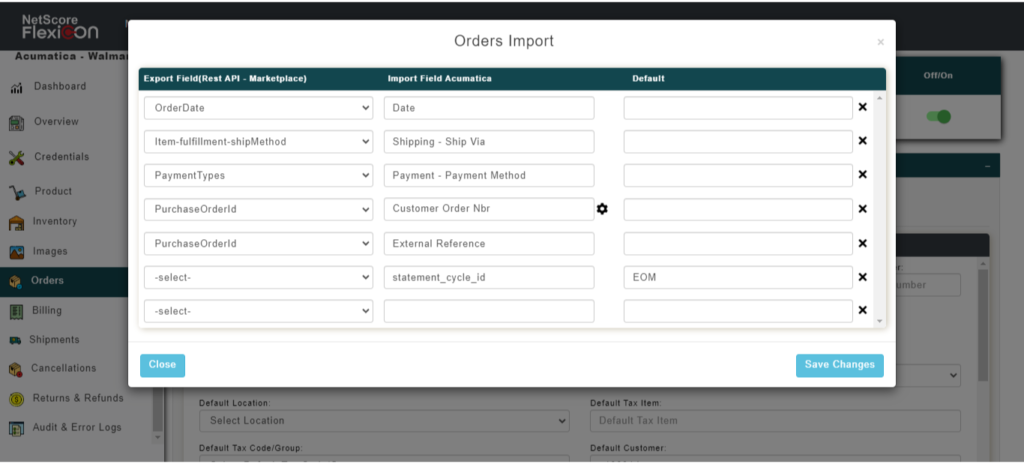
- To schedule the order sync process, select the Scheduler
A pop-up window is displayed, in which you can configure the Schedule date, Frequency, Start Time, and Days to run the schedule.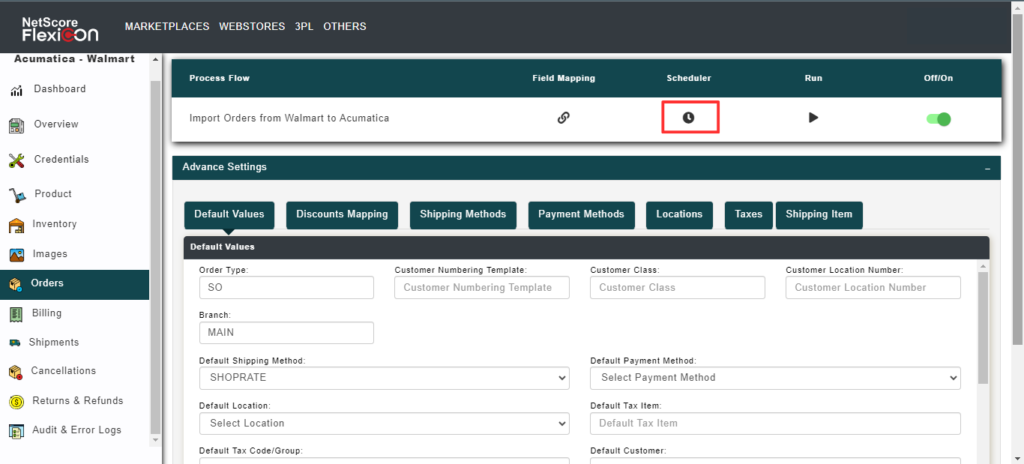
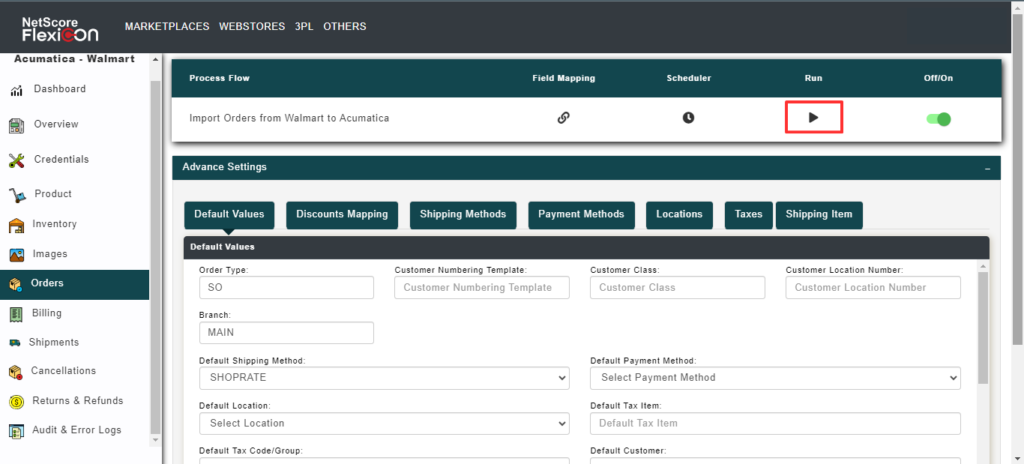
- To initiate a prompt synchronization, select the Run icon that initiates a prompt synchronization.
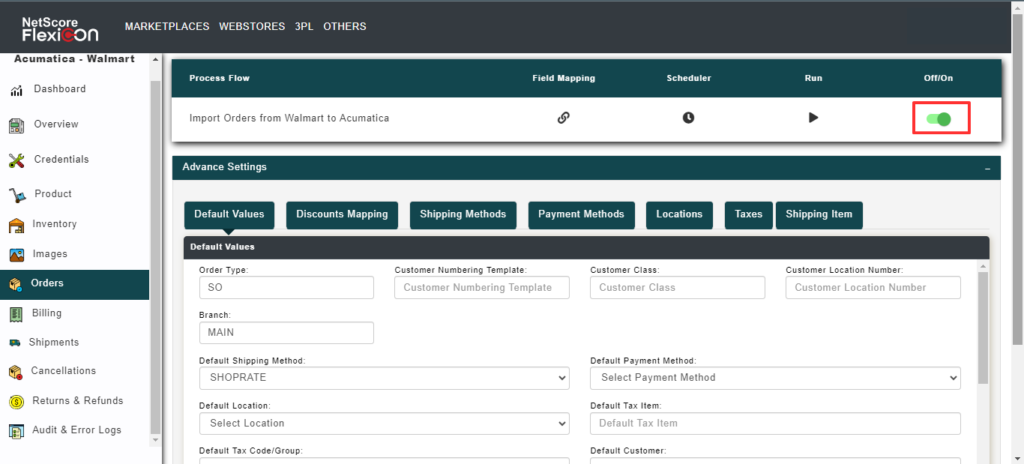
- To Enable/Disable the order sync, select the switch that turns the sync On and Off.
Ensure that the below mentioned advance settings on the FlexiCon Configuration module are defined, to sync an order to Acumatica.
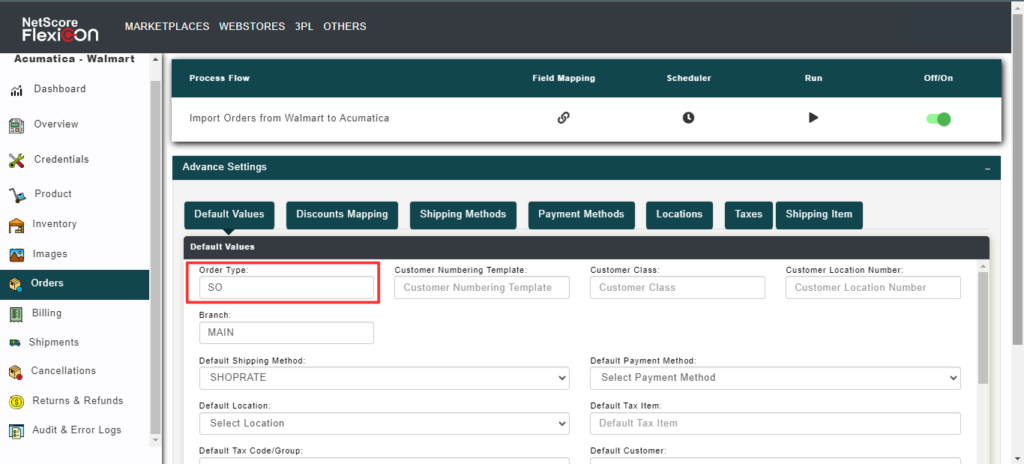
Order Type: Define the order type in the configuration mapping window, so that during the order sync to Acumatica the system considers the defined order type and creates the order in Acumatica.
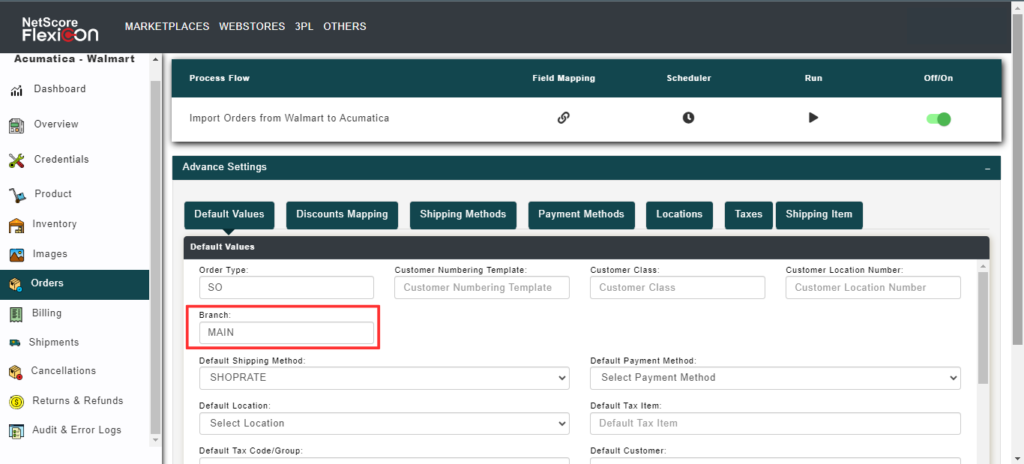
Branch: Branch signifies that the orders must be created with reference to the defined branch.
Default Customer: Default Customer signifies that all the orders from Wayfair must be mapped to a single default customer.

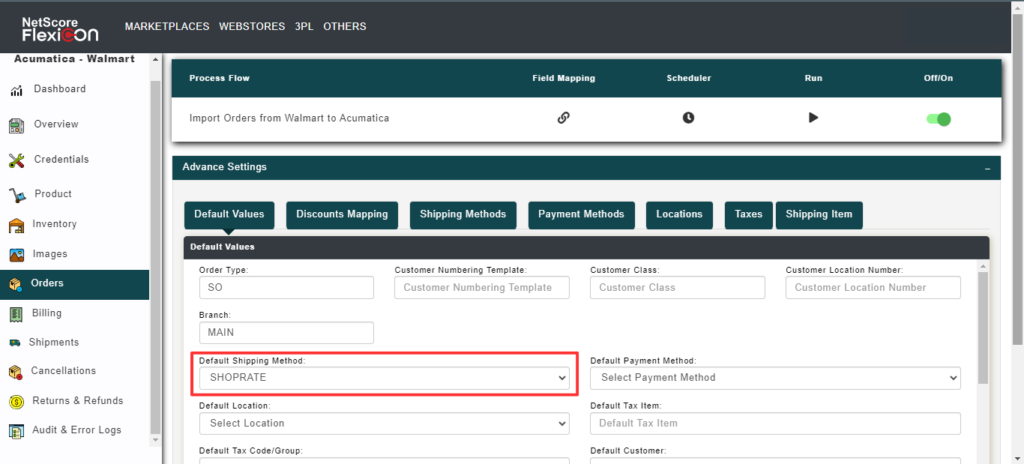
Default Shipping Methods: If the shipping methods are not defined in the Shipping Methods mappings across Acumatica and Wayfair in the FlexiCon Configuration module, then the connector considers the defined default shipping method to create an order in Acumatica.
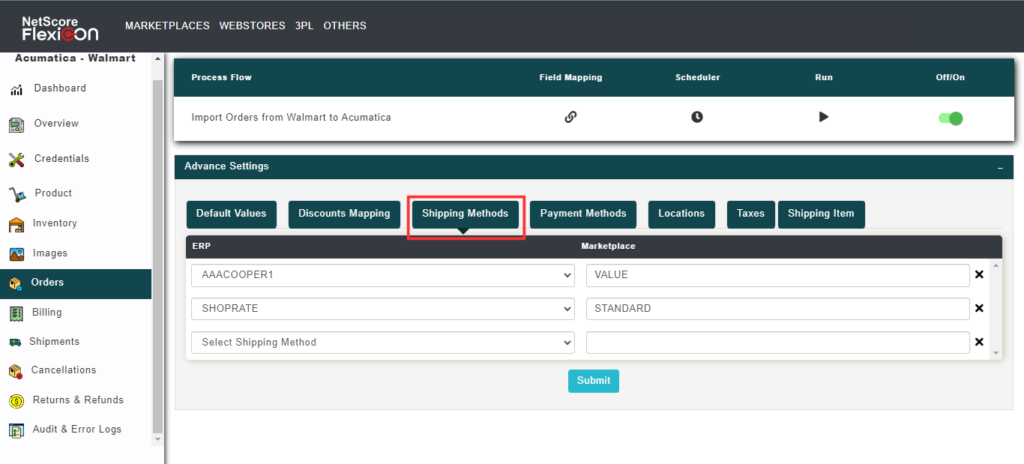
Shipping Method mapping Screen
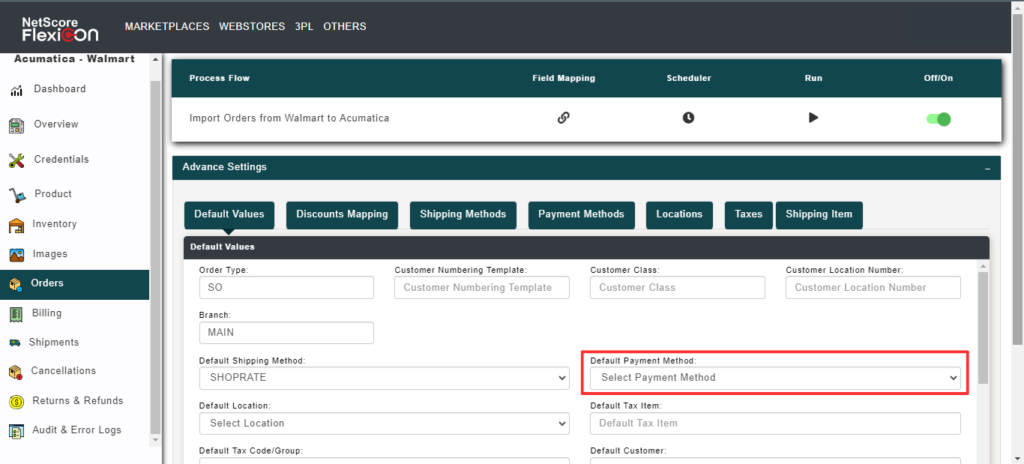
Default Payment method: If payment methods are not defined in the payment method mapping across Acumatica and Wayfair in the FlexiCon Configuration module, then the connector considers the defined default payment method and creates the payment record for the order.
Payment Method mapping screen

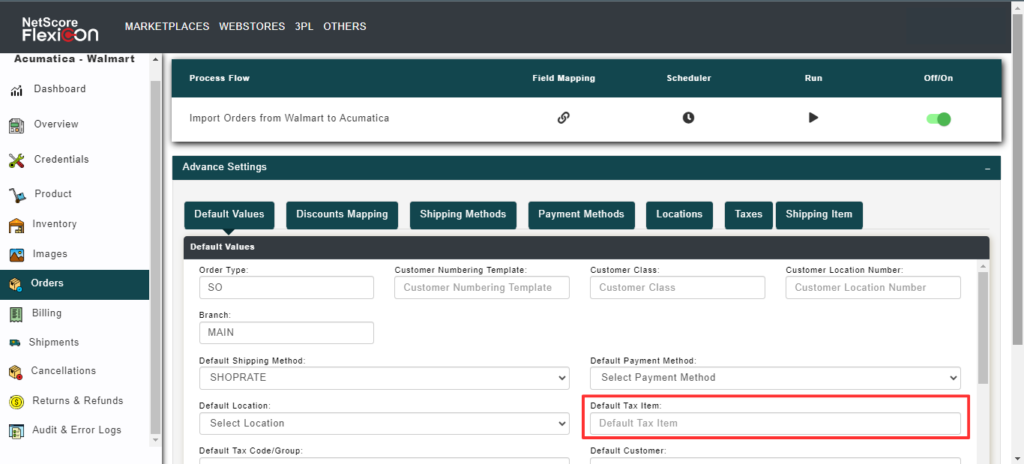
Default Tax Item: To add tax as a line item during an order sync to Acumatica, define a non-stock item as Default Tax Item to hold tax values for the order in Acumatica.
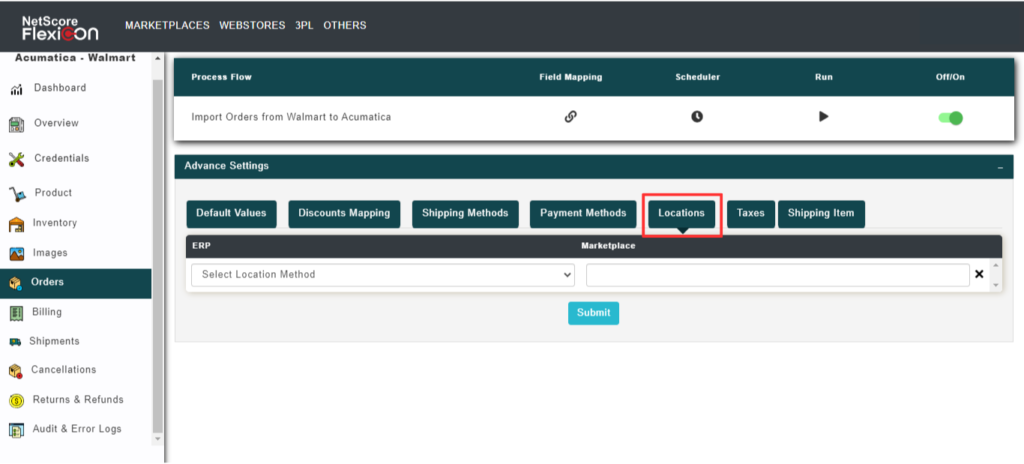
Default Location: To sync the order to Acumatica, define warehouse location in the mapping across Wayfair and Acumatica. If it is not defined at the mappings level, then the connector considers the defined default location and creates the respective order in Acumatica.

Location Mapping Screen
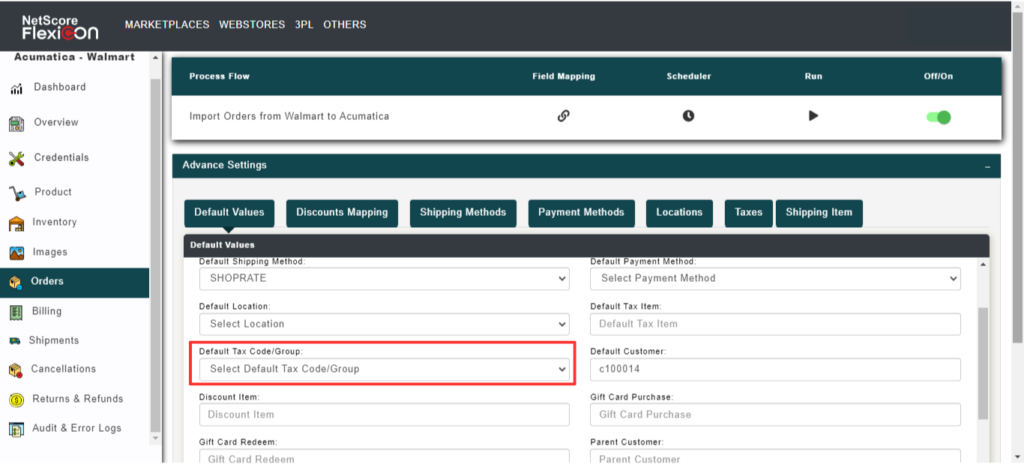
Default Tax codes/Group: To sync taxes in an order to Acumatica, define the mapping across Wayfair and Acumatica in FlexiCon Configuration module. If not defined, the connector considers the defined Default Tax codes/group and creates the order in Acumatica.
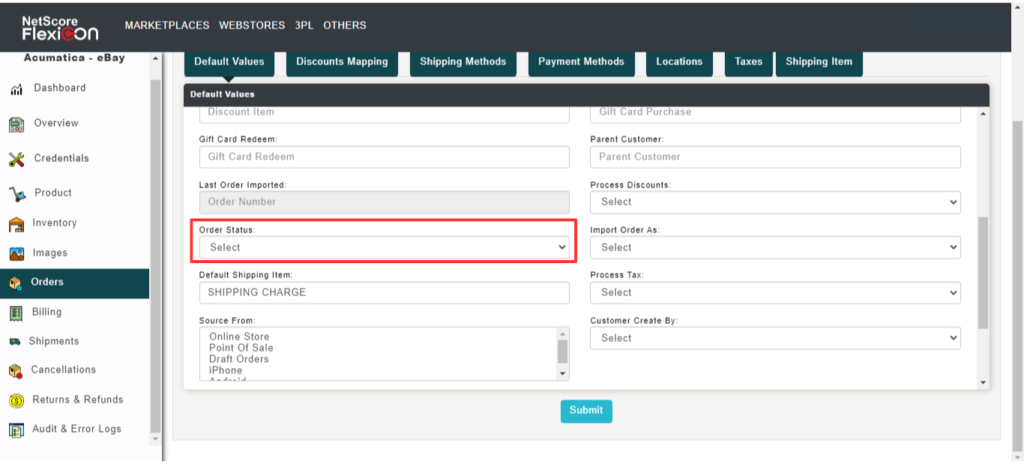
Order Status: Defining order status at the FlexiCon customer configuration module provides a provision for the connector to sync orders from Wayfair to Acumatica based on the order status.
When inventory fails to sync to Wayfair marketplace, the FlexiCon connector logs the error at the connector’s Audit and Error Logs window.
To resync an inventory that has failed to sync to Wayfair, do these:
- From the navigation panel, select the Audit & Error Logs.
Select the Error Log tab, to access the error information. - Go through the error message and provide the necessary inputs to the system.
- Resync the error record by selecting the Resync button

Before trying to import inventory from Acumatica to Wayfair, do the following configurations in the FlexiCon configuration module.
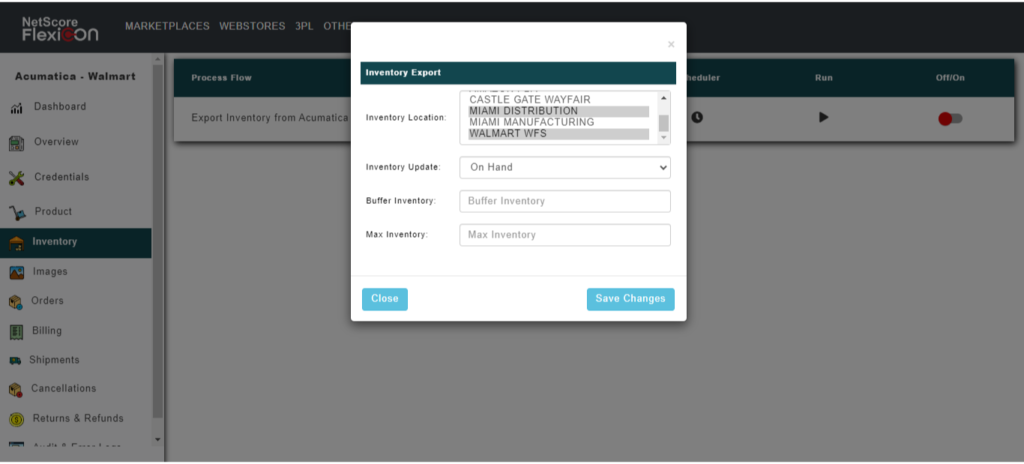
- Select Inventory from the navigation panel in the FlexiCon Configuration module.

- To export inventory from Acumatica to Wayfair, select the Field Mapping icon, which will open a pop-up window to configure the inventory location and other details.

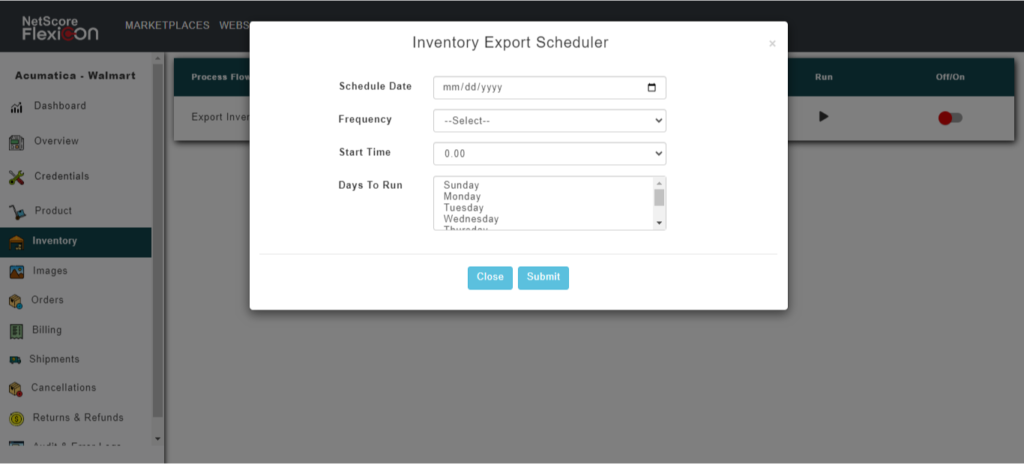
- To schedule the inventory export process, select the Scheduler
A pop-up window is displayed, in which you can configure the Schedule date, Frequency, Start Time, and Days to run the schedule.
- To initiate a prompt synchronization, select the Run icon that initiates a prompt synchronization.
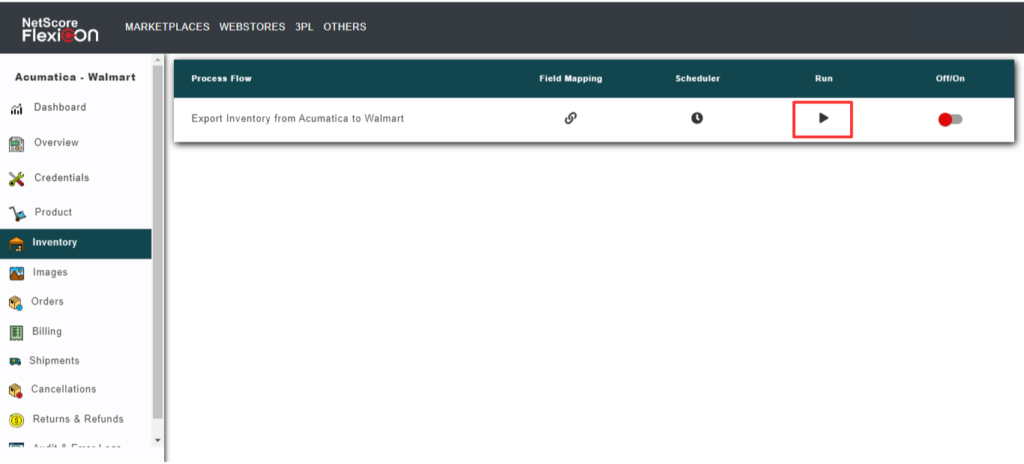
- To Enable/Disable the order sync, select the switch that turns the sync On and Off.

To successfully sync the inventory to Wayfair, ensure that the Wayfair supplier ID has been associated with the respective warehouse in Acumatica.
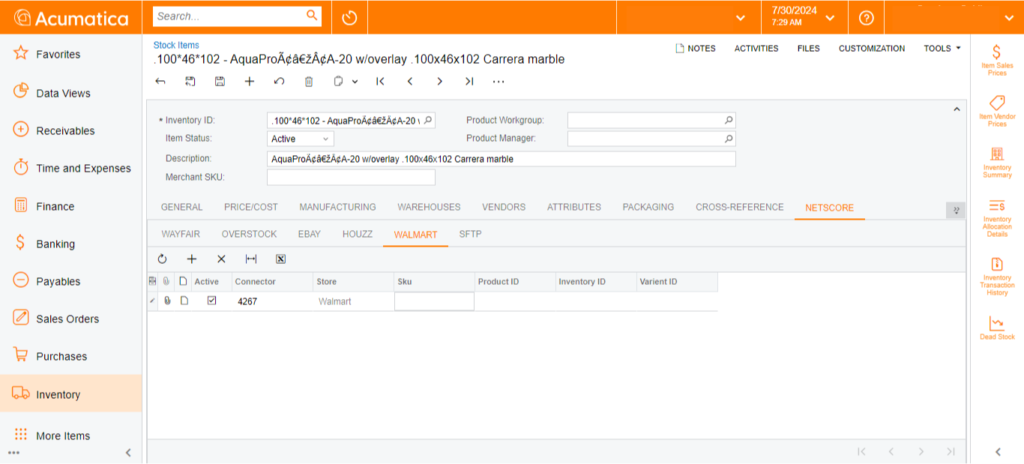
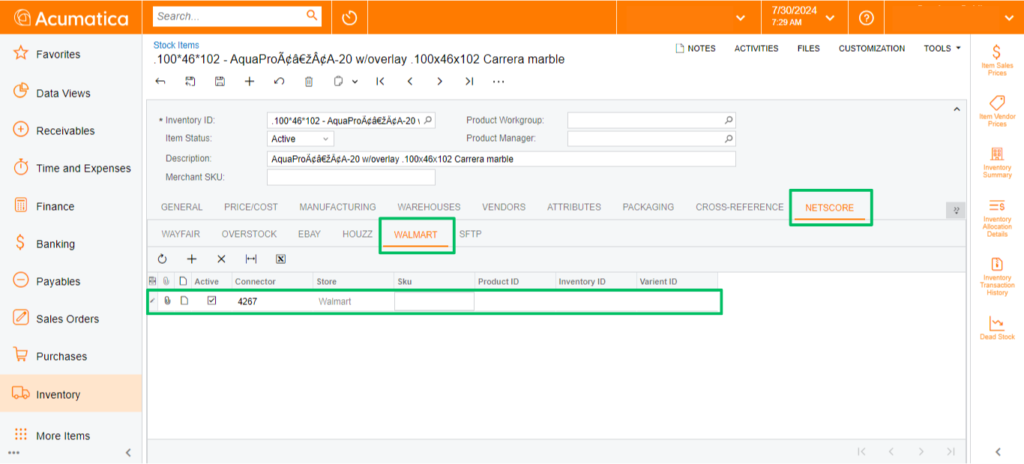
Ensure that the respective stock item is associated with respective marketplace on Acumatica.
When shipment fails to update Wayfair marketplace, the FlexiCon connector logs the error at the connector’s Audit and Error Logs window.
To reupdate an inventory that has failed to update to Wayfair, do these:
- From the navigation panel, select the Audit & Error Logs.
Select the Error Log tab, to access the error information. - Go through the error message and provide the necessary inputs to the system.
- Resync the error record by selecting the Resync button

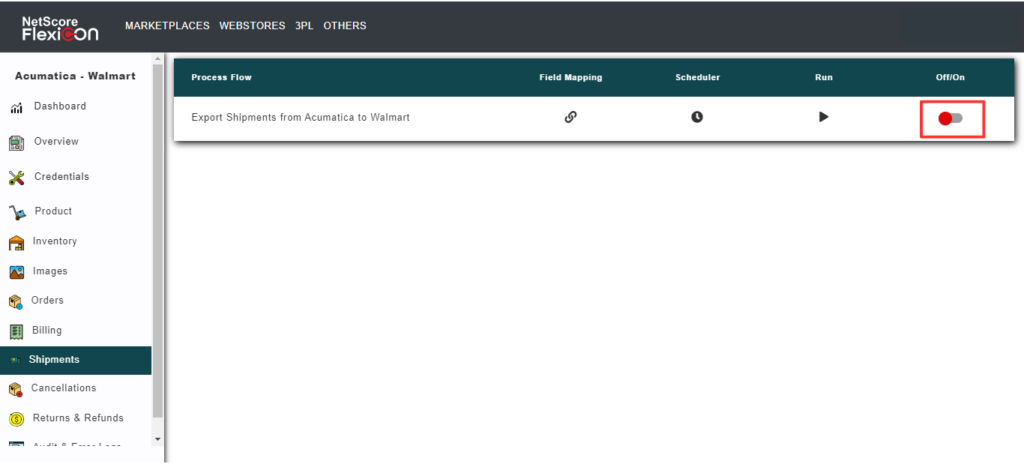
Before trying to export shipments from Acumatica to Wayfair, do the following configurations in the FlexiCon configuration module.
- Select Shipments from the navigation panel in the FlexiCon Configuration module.
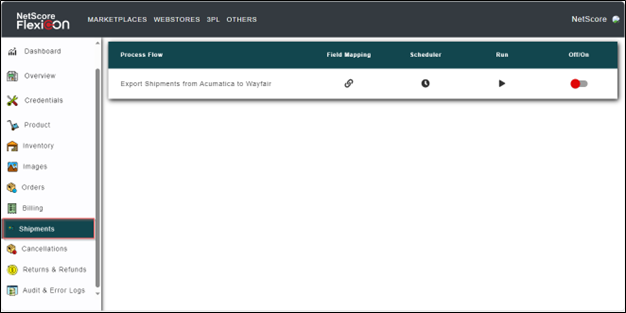
- To map the fields across Acumatica and Wayfair, select the Field Mapping icon which will open a pop-up window to map the fields across Acumatica and Wayfair.

- To schedule the inventory export process, select the Scheduler
A pop-up window is displayed, in which you can configure the Schedule date, Frequency, Start Time, and Days to run the schedule.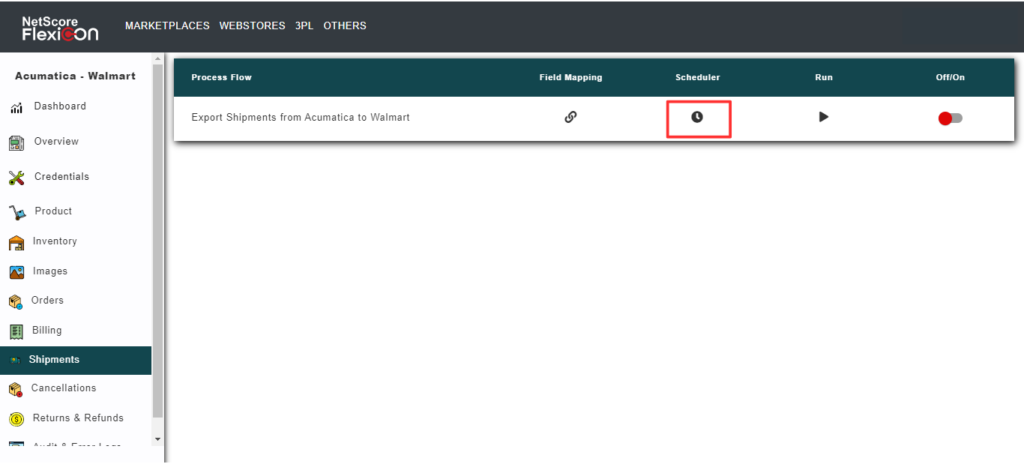
- To initiate a prompt synchronization, select the Run icon that initiates a prompt synchronization.

- To Enable/Disable the order sync, select the switch that turns the sync On and Off